Set up a Virtual Private Server
Difficulty: ** (medium)
A VPS (Virtual Private Server) is useful to run websites with particular processing and traffic needs; such as wikis and other dynamic websites that rely on database queries to render HTML on the fly. Companies such as https://hetzner.com offer these services, with a fairly simple setup through a registered account.
Getting started
On the page https://hetzner.com/cloud there is an overview of what options are available for a VPS, including location, CPU speed, and options to extend storage:
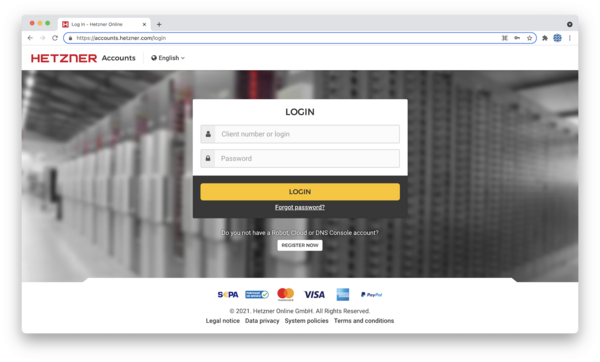
Click "login" at the top right, choose "cloud" and then in the new page that opens, enter your username and email address as per your registration.
Creating a new project and adding servers
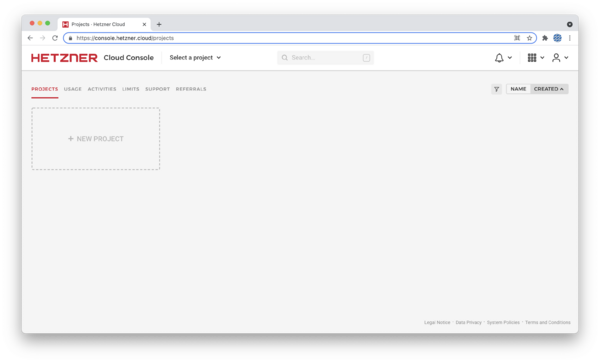
Once you have created your account and logged in, you will be presented with your ‘Projects’ screen, which groups VPSs together into common uses or projects. Make a new project and name it.
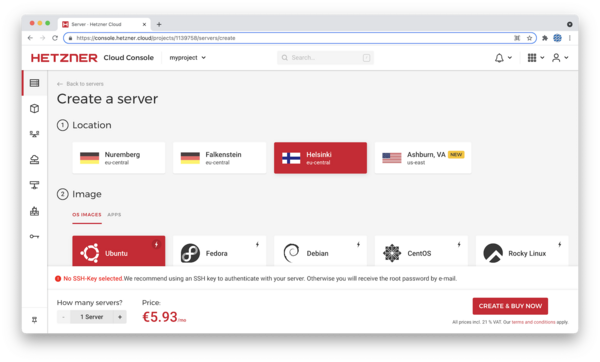
A message will flash saying that the project has been created. Click on the newly created project to begin making choices for:
- location
- image, with choices for OS images and apps
- type
- volumes
- network
- firewalls
- additonal features
- ssh keys
- name of server
For an installation of a wiki, my choices were:
- location - Nuremberg
- image, with choices for OS images and apps - Debian 11
- type - standard, CX21
- volumes - no selection
- network - no selection
- firewalls - no selection
- additonal features - no selection
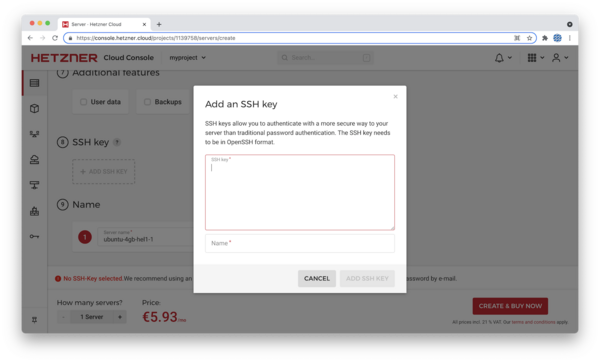
- ssh keys - added my public key (see below)*
- name of server - parallel-wiki
If public SSH keys are not added at this step, you will receive the root password via email. If you do add a key, you can still find and change the root password through the cloud console in the browser at a later stage. I chose to add my public SSH key by copying and pasting the contents of the file on my computer in the path ~/.ssh/id_rsa.pub.
When you are ready, click "create and buy now", and the server will be initialised. Make a note of the IP address of the server.
Now you have a server set up, the last step is to set SSH configuration on your computer for secure, remote access.
SSH configuration
I edited my SSH configuration file in the path ~/.ssh/config on my computer. Your config should look something like this, with the correct IP address of the server in the "Hostname" field:
# parallel-wiki
Host parallel-wiki
Port 22
User root
Hostname X.X.X.X
Identityfile ~/.ssh/id_rsa
Once done editing, save and close the file. With this configuration, I can use SSH to access the server by typing one line:
ssh parallel-wiki
